


Last Updated: October 2026 — Patch 26.20, Season 3
ADC feels unfair when one bad step deletes 20 minutes of farming. The role is not just “right-click better.” You have to share a lane, protect your income, read five enemy threats, and keep dealing damage without becoming the easiest target on the screen.
This LoL ADC guide turns that mess into an order you can repeat: wave, lane partner, threat, target, exit. Use it in lane, carry it into teamfights, then review the first decision that broke the sequence.
⚡ Quick answer: Farm without spending free health, trade when your support can reach the same target, and enter fights from a position with an exit. Hit the closest safe target until the enemy's dangerous engage tools are gone.

Table of Contents
- Read the current ADC role
- Make a bot lane plan
- Trade with your support
- Farm and recall cleanly
- Position around threats
- Play teamfights in order
- Move after bot tower falls
- Review your own replay
- Read the FAQ
The ADC Role on Patch 26.20
Patch 26.20 is the live Worlds patch{:target="_blank"} as of this update. Riot nerfed Ashe's attack-damage growth and buffed Lucian's, which is a useful reminder: champion strength moves every two weeks, but the ADC job stays stable.
That job is reliable damage from a survivable position. You are not required to reach the enemy carry first. You are required to keep attacking a target your team can reach without giving an assassin or engage champion a free path to you.
The current Patch 26.20 bot-lane data{:target="_blank"} covers more than 10 million ranked games and includes marksmen, mages, and melee carries. Do not copy one lane script across every pick. A Caitlyn lane wins space differently from a Samira lane, while an Ezreal lane can give ground that a Draven lane wants to contest.
Use three ADC archetypes to choose your job:
| Archetype | Lane plan | Fight plan |
| --- | --- | --- |
| Range and poke | Keep the wave and enemy at your effective range | Chip first, then protect the gap |
| All-in and reset | Preserve health until one clean commit | Follow control, secure the first takedown |
| Scaling damage | Protect income and avoid low-value flips | Stay alive long enough for repeated attacks |
Your champion changes the method. Gold, spacing, and damage uptime remain the scoreboard.
Build Your Bot Lane Plan Before the Wave
Bot lane has four players and two champion pairs, so start with the pair—not only your matchup into the enemy ADC. In loading screen, identify both teams' range, the most dangerous engage spell, who wins a short trade, and who wins if nobody can disengage.
Then make one call with your support:
- “Push for the first level.” Both players touch the wave and protect the same forward space.
- “Let it come.” Preserve health, last-hit late, and keep the lane nearer your tower.
- “Trade after their engage misses.” Hold movement and damage until the key threat is unavailable.
- “Crash then base.” Finish the wave together; do not chase into a broken recall.
If your plans conflict, the enemy pair gets two isolated targets. The ADC walks up for a last-hit while the support is behind; then the support engages while the ADC is clearing a cannon. Both players can be mechanically correct and still lose the lane.
Our LoL support guide uses the same wave, health, information, and payoff checks from the other side of bot lane. Share the call before the minions force the decision.
Bot Lane Trading: Use the Same Target and Timing
A good bot-lane trade has four permissions:
- The enemy spends something. A hook misses, a shield expires, or the ADC commits to a last-hit.
- Your support can reach. Their range, angle, and cooldowns let them affect the same target.
- The wave agrees. You are not walking through a larger enemy wave for one attack.
- You have an exit. The enemy jungler is not arriving through the route you just abandoned.
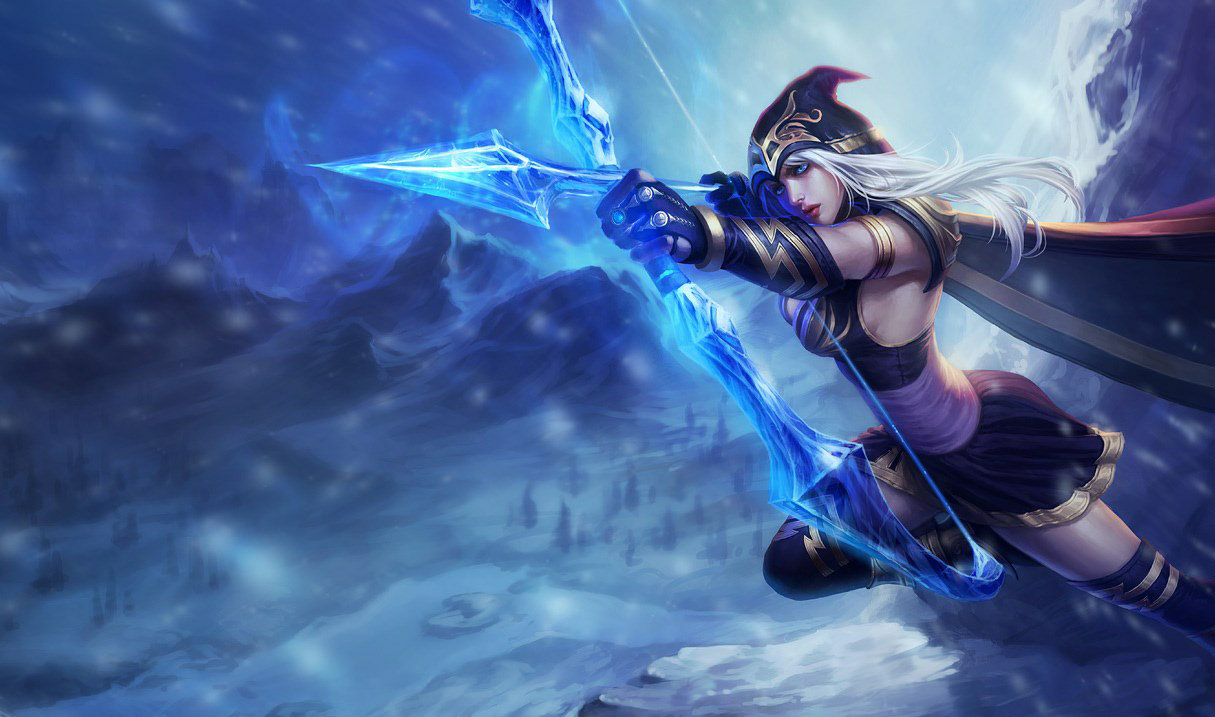
Call target, action, exit: “Hit support, two autos, back.” That is better than “go” because both players know when the trade ends.
The cleanest punish often starts when the enemy ADC last-hits. Their attack animation and attention are committed to a minion, which creates a short window to step up. Take the damage you can land without eating the enemy pair's full answer, then return to the wave.
I believe most losing ADC lanes are not lost to one giant mechanical gap. They are lost through five small health donations that remove every later option. Stop paying health for CS you cannot safely take.
For champion-specific pairings, the best bot lane duos guide shows which ADC and support combinations want the same first target and trade length.
How to Play ADC for Income and Clean Recalls
Minions are your item timer. On the 2026 Summoner's Rift, the first wave spawns at 0:30{:target="_blank"}, and waves continue on a predictable clock. Look at your next allied wave on the minimap before you recall, ward, or follow a river fight; the enemy wave mirrors its position.
The 2026 Bot Lane Role Quest{:target="_blank"} makes clean income even more valuable. It completes at 1,350 points, awards 300 gold, adds two bonus gold to later minion kills and 40 bonus gold to champion takedowns, and moves Boots into the role-quest slot.
Do not turn that into “never move.” Use this order:
- Take the safe CS. Preserve enough health to contest the next wave.
- Choose the wave state. Freeze for safety, slow push for a larger future window, or fast push when you need tempo now.
- Crash before leaving. Make the opponent collect minions under tower while you recall, ward, or move.
- Buy for the next job. Complete useful components instead of waiting in lane with unspent gold.
- Return together when possible. A split recall creates a temporary one-versus-two.
The full League wave management guide covers freezes, slow pushes, crashes, and bounces. For ADC, compress it into one rule: touch the wave according to your next purchase or play.
⚠️ Watch Out: Following a doomed river fight after the enemy bot lane moves first can lose the fight and the wave. Ping danger, clear safely, and move only if your route and arrival still create a playable number advantage.
ADC Positioning: Build a Threat Map
Positioning is not “stand far back.” It is staying outside the enemy's live threat range while remaining close enough to attack something useful.
Before a fight, name the tools that can end your damage:
- the first hard engage;
- the assassin's entry route;
- the displacement that breaks your peel;
- the long-range crowd control you cannot afford to eat;
- the flank that removes your retreat.

Now build your position around what is still available. If the enemy Malphite has not used Unstoppable Force, do not stand beside another priority target. If the assassin is missing, keep the wall, support, or control ward between you and the likely flank. When the dangerous cooldown is spent, step forward and use the space it released.
Use the one-step test before every aggressive move: if you step forward for this attack, what can reach you, and where do you step next? If you cannot name the exit, the attack may be bait.
Attack move helps execution, but no setting fixes a bad threat map. Practice it as a rhythm—attack, move during the recovery, reacquire the safest target—without clicking past the frontline into the enemy team.
ADC Teamfight Guide: Survive, Then Create Damage
The safest target is usually the correct first target. Front-to-back damage may look less heroic than flashing toward the enemy carry, but five seconds of attacks into a tank beats one ambitious attack followed by a gray screen.
Play the fight in four phases:
1. Stage outside the first engage
Arrive early enough to choose your ground. Keep a wall, ally, or open retreat behind you, and avoid stacking with teammates against area control.
2. Let the threat reveal itself
You do not need to attack on the first frame. A short delay can force the enemy diver to show, the hook to miss, or the control spell to hit your frontline instead.
3. Hit the nearest safe target
Attack whatever you can damage without crossing an active threat. Switch when a target leaves range, becomes invulnerable, or another enemy enters a safer and more valuable window.
4. Move after the win
A takedown is not permission to chase through dark jungle. Check health, remaining threats, and the next objective. Convert the fight into a tower, objective, vision line, or clean reset.
Give your support calls they can act on: “peel first,” “no Flash,” “hit front,” or “I can walk up after ult.” If you want those calls from a consistent lane partner, find a League of Legends teammate on Tapin who wants the same trade timing and teamfight plan.
ADC Macro After Laning Phase
When the first bot tower falls, stop treating bot lane as your permanent address. Your next lane should give you safe income and access to the next important fight.
Use this three-check rotation:
- Wave: Which farm can you collect without crossing a dark vision line?
- Objective: Which lane keeps you close enough to arrive before the fight starts?
- Protection: Which teammate or structure makes the lane survivable?
Mid is often useful because it is shorter and connects to both sides, but it is not automatically yours. If your mid laner cannot side-lane safely, coordinate the swap instead of taking the same wave and starving both carries.
Push only to the line your information supports. If the enemy diver and support disappear, back away before they appear on your screen. Missing one ranged minion hurts less than donating your shutdown and the next objective.
A 10-Minute ADC Replay Review
Patch 26.20 made other players' replays private, but Riot confirmed you can still download and review your own matches{:target="_blank"}. Use that access on the first 10 minutes before reviewing the final teamfight.
Record five timestamps:
- First lost health: Did you trade it for CS, pressure, or nothing?
- First mismatched trade: Could your support reach the same target?
- First missed wave decision: Did you know whether to freeze, push, or crash?
- First recall: What wave and purchase did you return to?
- First death: Which threat, target, or exit did you fail to track?
Choose one correction for the next three games. “Position better” is useless. “Wait for Malphite ult before crossing my frontline” or “call two autos and back” is specific enough to practice.
LoL ADC Guide FAQ
What should an ADC focus on first in lane?
Protect health while collecting safe CS, then trade when your support can affect the same target. Read both bot-lane pairs before deciding whether to push, let the wave come, or punish a missed engage.
How should an ADC position in teamfights?
Stay outside the range of live engage tools while keeping one useful target in range. Hit the closest safe enemy, preserve an exit, and step forward only after the cooldowns that can reach you are spent.
Should an ADC always go mid after laning phase?
No. Mid is often safer and better connected to objectives, but the correct lane is the one with collectable farm, access to the next fight, and enough protection. Coordinate the swap so two carries do not share one wave.
How do I trade with my support in bot lane?
Agree on the target, trade length, and exit before committing. A useful call is “hit support, two autos, back.” Trade after the enemy spends a key cooldown or commits to a last-hit, and avoid walking through a larger enemy wave.
How can I improve ADC positioning quickly?
Review your first death and name the threat, target, and exit you missed. Practice one rule for three games, such as waiting for the main engage spell before stepping past your frontline.
Make ADC Decisions Repeatable
ADC is not a promise that your team will peel perfectly. It is a sequence you can control: protect income, sync with your support, map the threats, hit the safe target, and keep an exit.
Run that order every fight. Your mechanics finally get room to matter when your positioning keeps you alive long enough to use them.